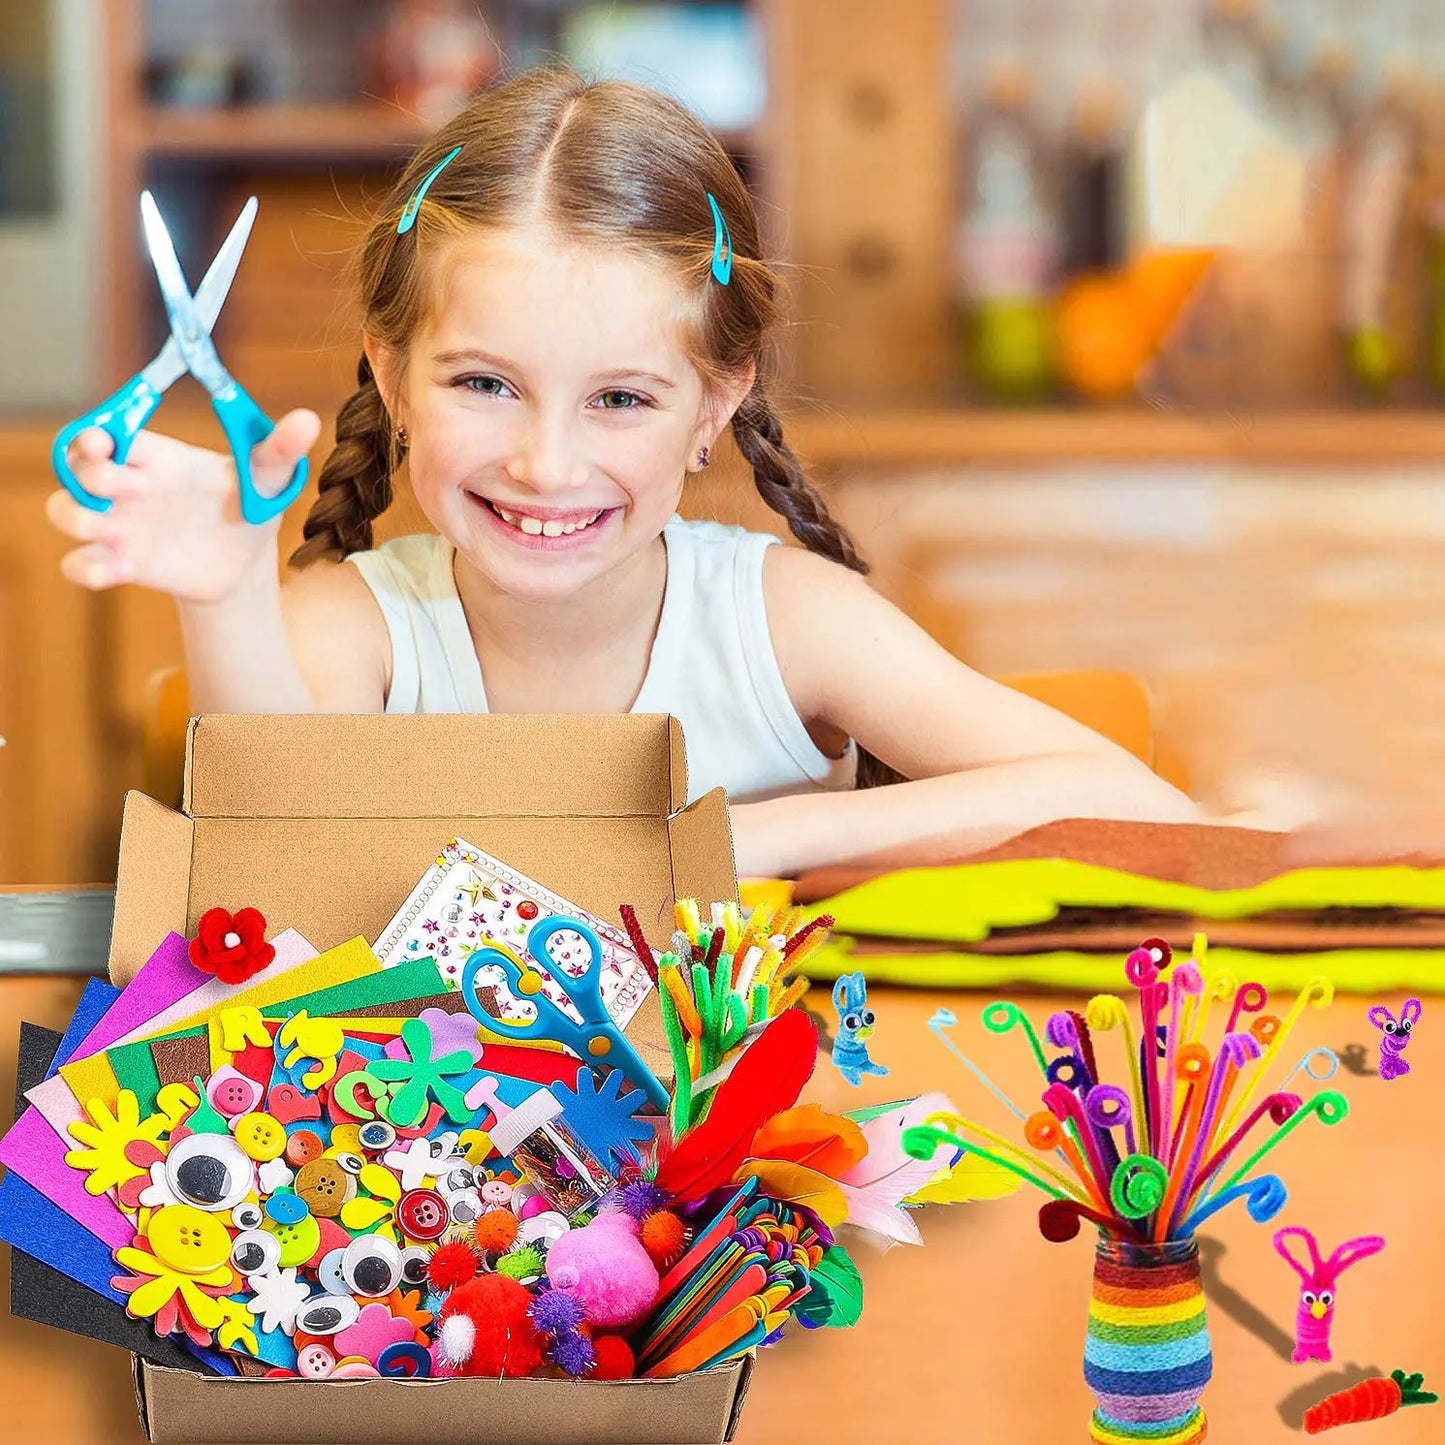
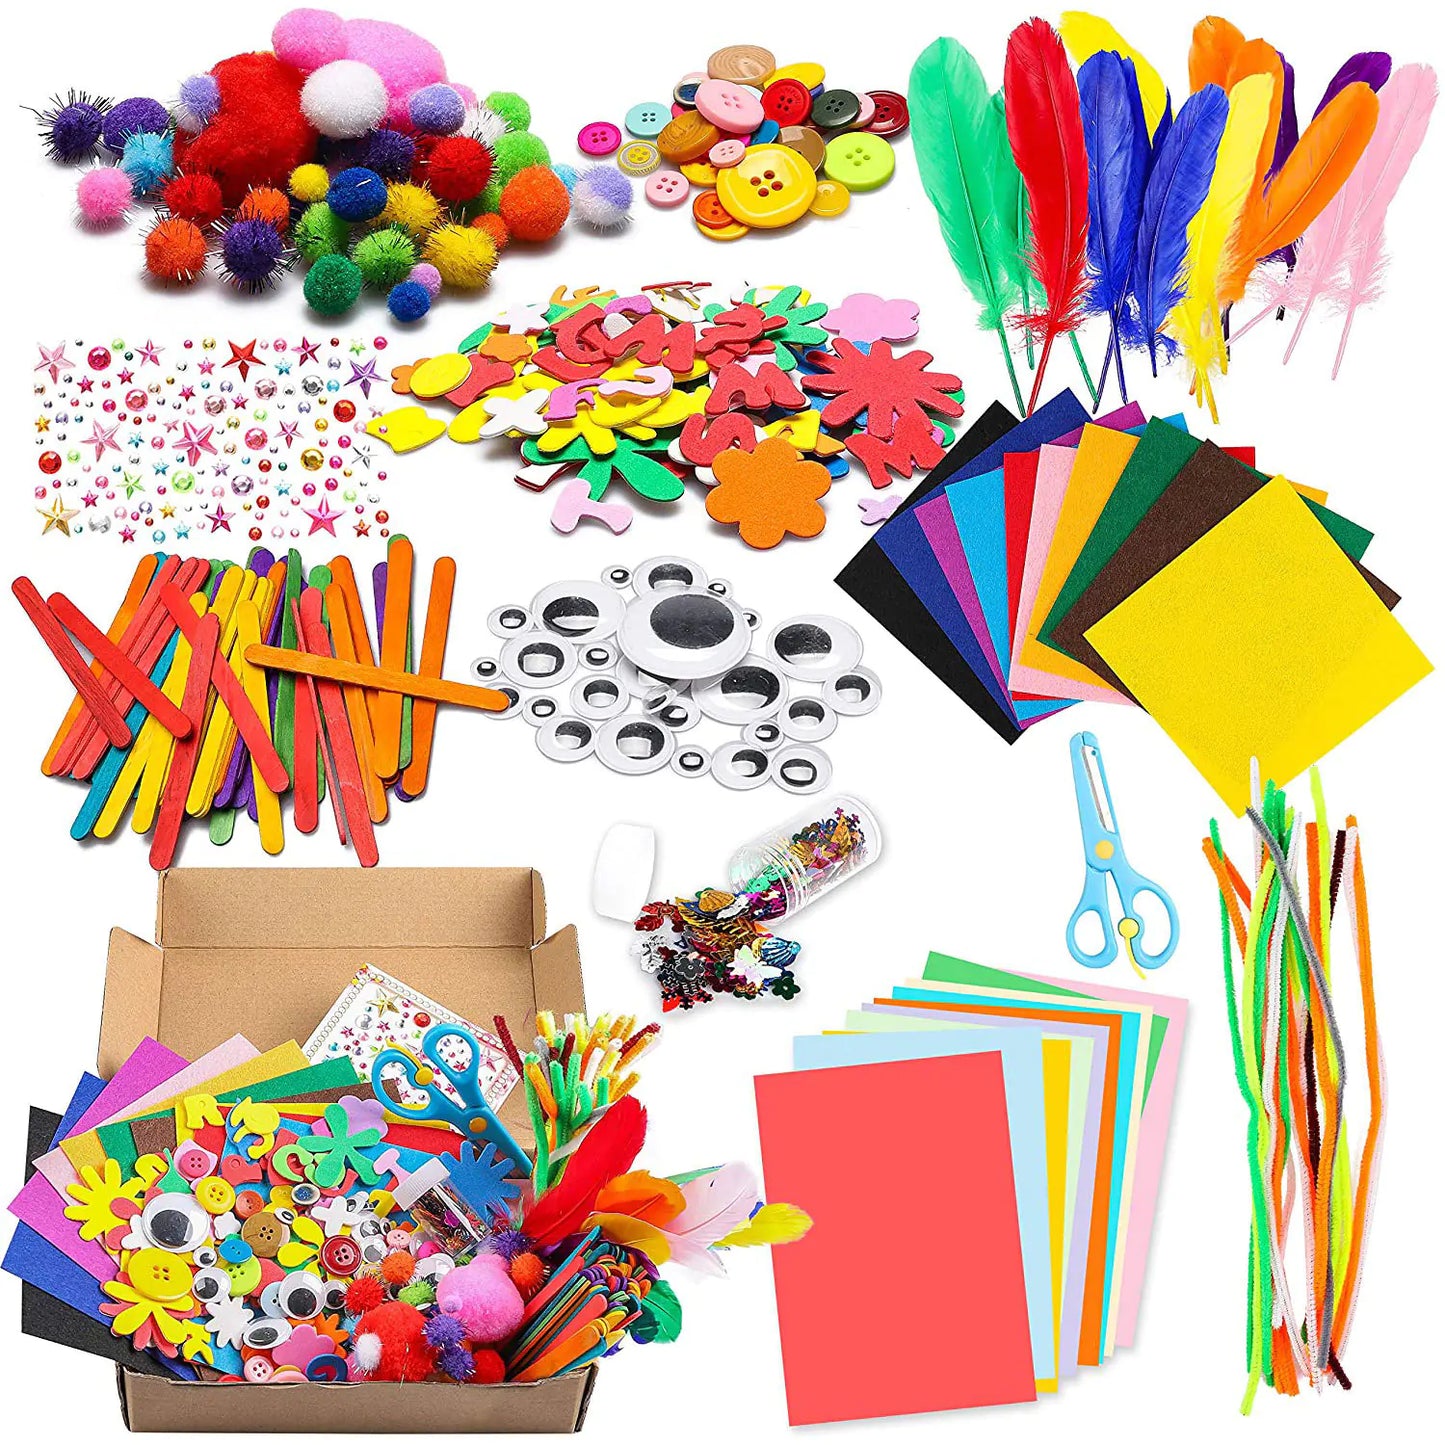
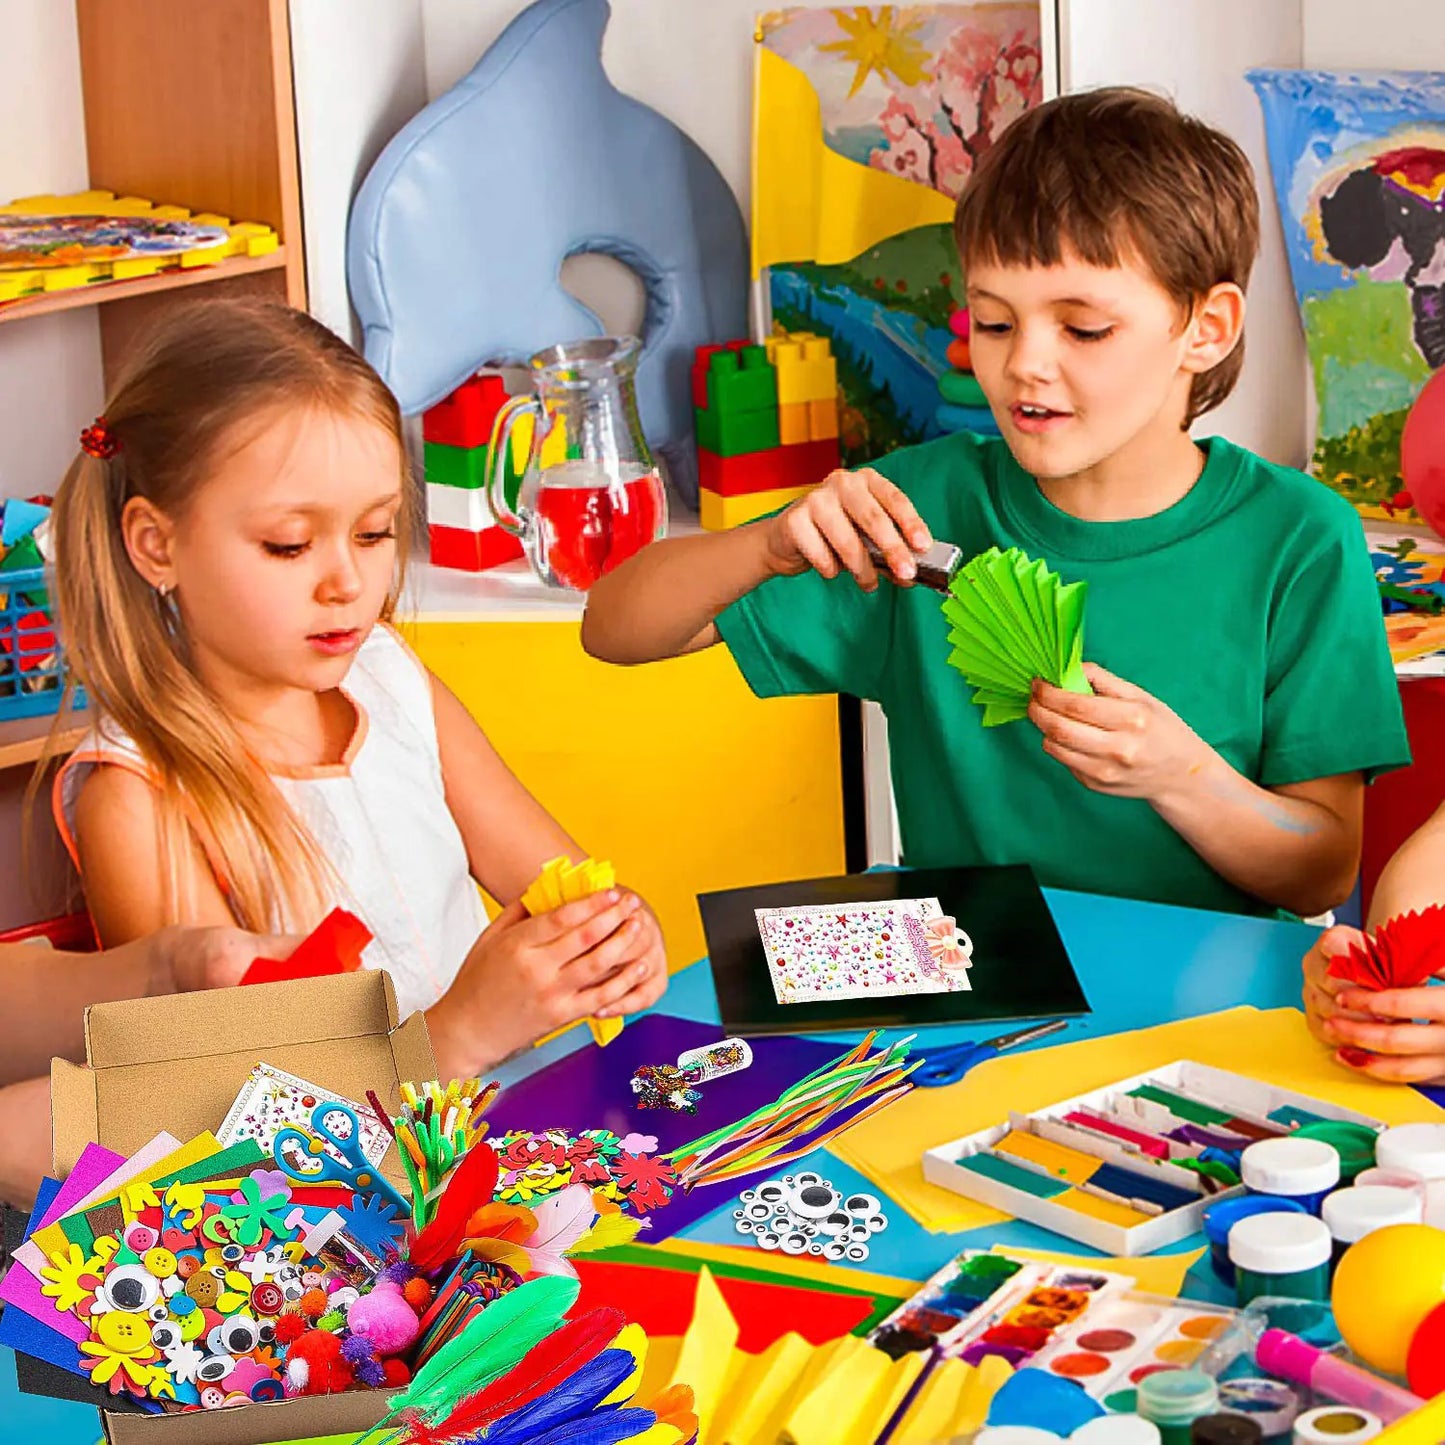
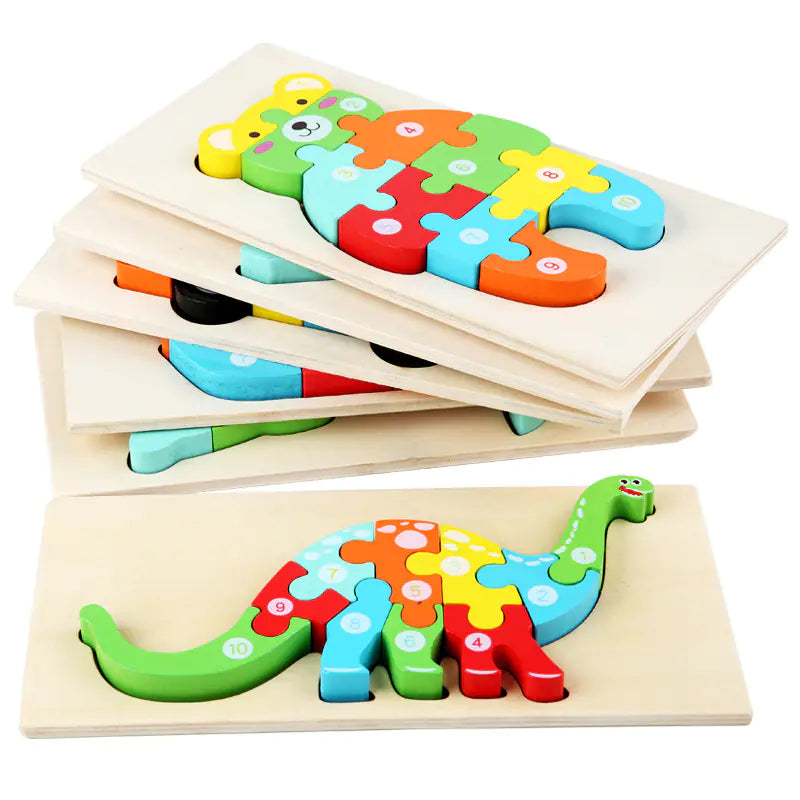
Sensory bins offer a unique and engaging way for children to learn through exploration and play. By combining different materials and objects, these bins can stimulate a child's senses, promote fine motor skills, and foster cognitive development. This article will guide you through creating and using sensory bins effectively, ensuring that educational exploration is fun and beneficial for young learners.
Diving into Sensory Bins: A Starter's Guide

Choosing the Right Container
When I first started using sensory bins with my kids, I quickly learned that the container itself is as crucial as what goes inside. You want an enormous container for your child to explore without spilling contents everywhere but not so big that it becomes unwieldy. I've found that clear plastic storage bins are a favorite—they're affordable, durable, and let the kids see all the colorful treasures inside.
Here are a few things to consider when selecting your sensory bin container:
- Size: Make sure it's large enough for hands to dig in but not too large to store.
- Material: Plastic is easy to clean, and see-through options add visual appeal.
- Lid: A lid is essential for easy clean-up and to keep the sensory materials fresh.
-
Portability: If you plan to move the bin around, ensure it's not too heavy and has handles.
Remember, the goal is to create a safe and inviting space for your children to explore and learn. The right container sets the stage for endless educational play.
Essential Sensory Bin Tools
When I first started using sensory bins with my kids, I quickly realized that having the right tools on hand is a game-changer. A well-stocked sensory bin toolkit can make all the difference in creating a rich sensory environment that captivates and educates. Here's a quick rundown of some must-haves:
- Containers: Start with a variety of containers in different sizes. Shallow bins are great for little hands to reach into, while deeper ones can hold more adventurous setups.
- Scoops and tongs: These are perfect for practicing fine motor skills. Kids love to transfer items from one place to another, and these tools make it fun and challenging.
- Funnel and tubes: For a touch of science, include these to explore concepts like gravity and cause-and-effect.
Remember, the goal is to engage all the senses. So, don't exclude items that make noise or have unique textures. And safety first! Always choose age-appropriate tools and free of sharp edges or small parts that could be a choking hazard.
Creating a sensory bin is not just about filling a container with stuff; it's about crafting experiences that will support your child's development in the most delightful ways.
With these tools, you'll be ready to dive into a world of sensory exploration that benefits your child's learning and development in countless ways.
Safety Tips for Sensory Play
As I dive deeper into the world of sensory bins with my little one, safety is always at the forefront of my mind. Always supervise your child during sensory play to prevent any accidental ingestion or mishaps with smaller items. It's crucial to ensure that all materials used are non-toxic and age-appropriate.
Here's a quick checklist to keep our kiddos safe:
- Inspect all items for sharp edges or choking hazards.
- Use more significant items for younger children to avoid any choking risks.
- Keep a close eye on children at all times during sensory play.
- Make sure all bins and tools are clean and in good condition.
Remember, the goal is to create a safe environment where our children can explore and learn without any worries. Sensory play is not just about the fun and games; it's a valuable educational tool that nurtures their development in a secure setting.
Lastly, if you're ever in doubt about a material or an item, it's better to err on caution and leave it out of the sensory bin. Safety first, so our little explorers can enjoy a world of discovery without any bumps!
The Magic of Textures: Sensory Bin Fillers to Explore

From Rice to Beans: Dry Sensory Experiences
When I first started using sensory bins with my kids, I was amazed at how something as simple as rice or beans could become a universe of exploration for their tiny fingers. Dry fillers like rice and beans are fantastic for sensory play because they're safe, non-toxic, and easy to clean up. Plus, they offer a blank canvas for a variety of educational activities.
Here's why I love using dry sensory bin fillers:
- They're affordable and readily available in most grocery stores.
- Dry fillers can be dyed with food coloring to create a vibrant sensory experience.
- The textures of rice and beans encourage fine motor skill development as kids scoop, pour, and sort.
Remember, the key to a successful sensory bin is allowing kids to explore at their own pace. There's no right or wrong way to play!
As a parent, I also appreciate that these dry fillers are reusable. With proper storage, a single batch of colored rice or beans can last for several sensory bin sessions. It's a cost-effective way to keep the fun going!
Water Wonders: Creating Liquid Landscapes
I've found that nothing sparks joy in kids quite like the splash and giggle of water play. It's not just about fun, though—water tables or improvised troughs brimming with liquid are fantastic for sensory exploration. You can set the stage for a wet and incredible learning experience with simple props like containers, bottles, and funnels.
Water play is a gateway to understanding the world around us. It's a hands-on way to teach concepts like volume, cause, and effect, and even introductory physics as little ones pour, measure, and experiment. And let's not forget, it's a perfect opportunity to encourage outdoor STEM learning through play.
When setting up your liquid landscape, remember to keep it safe and manageable. A towel on the floor or a water bin in the bathtub can make clean-up a breeze and prevent any slippery mishaps.
Here's a quick list of items to consider for your water wonderland:
- Water table or large trough
- Variety of containers and funnels
- Smooth pebbles or rocks
- Plastic aquatic animals or plants
- Blue-colored water for effect
Dive in and watch as your child's curiosity ripples into a sea of discovery!
Nature's Touch: Incorporating Elements from the Outdoors
I've found that bringing the outdoors inside can be a game-changer for our little explorers. Nature's palette is rich with textures and shapes, perfect for sensory bins. By adding elements like leaves, rocks, and sand, we can create an environment that stimulates the senses and connects children to the natural world.
Why use natural elements? They're readily available, cost-effective, and offer various sensory experiences. Here's a quick list of items you can gather:
- Smooth pebbles for weight and texture
- Pinecones for a touch of the forest
- Sand for pouring and sifting
- Water, ice, or snow for temperature play
- Leaves of different shapes and colors
Remember, the goal is to spark curiosity and encourage discovery. These natural items can be the tools for countless educational adventures.
Safety is paramount, so ensure the items are clean and size-appropriate to avoid choking hazards. With some creativity, your sensory bin can become a microcosm of the great outdoors in your living room.
Color Me Curious: Using Sensory Bins to Teach Colors

Color Sorting Games
I've found that color-sorting games are a fantastic way to introduce the little ones to the vibrant world of colors. It's a hands-on activity that teaches color recognition and encourages organizational skills. By sorting objects by color, kids can make sense of their environment in a fun and engaging way.
For example, I like using a simple setup with baskets or boxes wrapped in colored paper. I'll scatter a mix of colored objects on the table and let the kids sort them into the corresponding baskets.
Essential Sensory Bin Tools for Color Sorting:
- Colored baskets or boxes
- A variety of objects in different colors
- Labels for each color (optional)
Remember, the goal is to make learning about colors an adventure, not a chore. Keep it playful and watch as your child's understanding of colors blossoms.
Educational toys like Color-Matching Games, Pattern Blocks, Sensory Balls, and Stacking Rings promote learning and development in children through fun, interactive play. Safety and engagement are key features.
Mixing and Matching: A Lesson in Color Theory
As I delve into the world of sensory bins with my little one, I've discovered that teaching color theory can be a playful and engaging experience. By mixing and matching different colored items, we explore the basics of primary and secondary colors. Watching my child's amazement is fascinating as they blend red and yellow to create orange or blue and yellow to make green. This hands-on approach solidifies their understanding of colors and enhances their sensory skills.
Essential Color Mixing Activities:
- Combine colored water in transparent bottles
- Mix playdough to form new colors
- Layer colored sand to see separation and combination
Encourage kids to explore textures and colors using everyday items like kitchen sponges and ingredients. Art supplies are powerful tools for learning and creativity in children, fostering cognitive growth and sensory skills.
Remember, the goal is to make learning about colors a sensory-rich experience. By incorporating various materials with different textures and hues, we're not just teaching color theory; we're nurturing a deeper appreciation for the beauty and complexity of the world around us.
Hunt for the Rainbow: A Colorful Scavenger Quest
One of the most thrilling ways to teach kids about colors is through a scavenger hunt. It's like a treasure quest, but we're looking for hues that make up our vibrant world instead of gold. Each color discovery is a victory, a chance to celebrate and reinforce their learning.
Here's how we can set up a simple color scavenger hunt with items you likely have at home:
- Red: Find a toy that roars like a fire truck.
- Orange: Hunt for something as round and sweet as an orange.
- Yellow: Look for an item that shines like the sun.
- Green: Seek out a piece of nature's greenery.
- Blue: Search for something that reminds you of the sky.
-
Purple: Find an object fit for royalty.
This activity not only solidifies color recognition but also encourages kids to make associations and connections, which is a key part of cognitive development.
Remember, the goal isn't just to identify colors; it's to explore and engage with the world around them. By turning learning into a game, we're nurturing their curiosity and making education a joyous part of everyday life.
Little Hands, Big Discoveries: Sensory Bins for Fine Motor Skills

Pinching, Pouring, and Scooping: Enhancing Dexterity
I've found that sensory bins are not just a hit with the kids. They're a goldmine for developing those tiny muscles in their hands and fingers. Pinching, pouring, and scooping can become a full-blown fine motor skills workout without them realizing it! By engaging in these simple actions, kids are laying the groundwork for essential skills like writing and buttoning their shirts.
Essential Sensory Bin Activities for Fine Motor Skills:
- Pinching small objects like pompoms or beads
- Pouring water or sand from one container to another
- Scooping up items with spoons or ladles
- Transferring objects using tongs or tweezers
Remember, the key is to encourage exploration, creativity, and problem-solving through these playful activities. It's about making learning irresistible.
And let's not forget the sensory integration aspect. As kids get their hands dirty (literally), they also absorb information about the world around them. It's a multi-sensory experience that enriches their understanding and keeps them returning for more.
Threading and Beading: A Journey in Coordination
I've found that threading and beading activities are a fantastic way to help little ones develop fine motor skills. It's all about the pinch and grasp motion, which is crucial for tasks like writing and buttoning. Kids love the challenge of picking up tiny beads and figuring out how to thread them onto a string. It's a game to them, but they're honing their dexterity and hand-eye coordination.
Here's a quick list of benefits your child can gain from these activities:
- Improved pincer grip
- Better hand-eye coordination
- Enhanced focus and patience
- Recognition of patterns and sequences
Remember, the key is to let them explore at their own pace. There's no rush, and every little success is a big step in their development.
And don't worry about messes or losing beads; I suggest setting up a 'beading station' with a tray to catch any runaway pieces. It keeps everything contained and makes clean-up a breeze!
Sticky Business: Playing with Adhesive Textures
Let's get our hands a little sticky but in the best way possible! Adhesive textures in sensory bins are not just fun; they're a sneaky way to boost your child's fine motor skills. Imagine the delight as they peel, stick, and create with materials challenging their dexterity. It's like each sticky piece is part of a puzzle, waiting to be solved by those eager little fingers.
Here's a quick list of adhesive items you can include:
- Contact paper, with the sticky side up
- Stickers of various sizes and shapes
- Masking or painter's tape laid out in patterns
- Velcro strips attached to different objects
Encourage your child to press and smooth down materials, or lift and reposition them. This simple action is a workout for those tiny hand muscles, paving the way for future writing and other intricate tasks.
Remember, the goal is to make learning feel like play. So, while they're busily engaged with the stickiness, they're also learning about cause and effect, experiencing different degrees of stickiness, and even beginning to understand the basics of adhesion. Who knew sticky could be so educational?
Nature's Classroom: Outdoor-Inspired Sensory Bins

Garden Galore: Digging and Planting Activities
There's something exceptional about watching your little one's face light up as they dig their hands into the soil, discovering the wonders of nature right in our backyard. Engage kids in gardening for sensory exploration, math learning, and responsibility. Teach life skills through hands-on activities in soil, plants, and kitchen experiments.
Creating a garden sensory bin is a breeze and a fantastic way to bring the outdoors in. Here's what you'll need:
- A shallow plastic container or sensory bin
- Soil or planting mix
- Small gardening tools like a mini shovel, rake, and watering can
- Fake or real flowers to plant
- Plastic insects or bugs to discover
Encourage your child to dig, plant, and water the flowers. It's a perfect opportunity to talk about the importance of plants and insects in our environment.
This simple setup nurtures a love for gardening and helps develop fine motor skills and an understanding of the ecosystem. Plus, it's just plain fun to play in the dirt!
Miniature Worlds: Creating Habitats in a Bin
One of the most enchanting ways to spark curiosity in little ones is by creating miniature worlds right inside a sensory bin. It's like a giant overlooking a tiny universe, and the educational benefits are just as huge! Building these small habitats encourages understanding ecosystems and the creatures inhabiting them.
Here's a simple step-by-step to get you started:
- Select a container with enough depth to add various elements like hills and valleys.
- To set the stage for your miniature world, begin with a base layer, such as pebbles or soil.
- Add elements like plastic trees, moss, or a minor water feature to mimic a real-life environment.
- Place animal figurines within the habitat, and watch as your child's imagination brings the scene to life.
Remember, the goal is to create a space that invites exploration and storytelling. It's not just about the visual appeal; it's about crafting an experience that will captivate your child's senses and mind.
By engaging in this creative play, kids develop a deeper appreciation for nature and learn to recognize the importance of biodiversity. Plus, it's a fantastic way to practice problem-solving as they figure out where each element belongs in the ecosystem. So, grab a bin and let's create a world of wonder together!
Beach Day Every Day: Sand and Shell Exploration
Bringing the beach to our homes has never been easier with a sensory bin that captures the essence of the seaside. It's like having a beach day every day, right in our living room! I love watching my little one's eyes light up as they dig their fingers into the cool sand, uncovering hidden shells and imagining the waves lapping at their toes.
Here's a simple way to set up your beach-themed sensory bin:
- Fill a large container with play sand.
- Mix in a variety of seashells for discovery.
- Add blue crinkle paper or fabric to simulate water.
- Consider including small toy sea creatures or pebbles for added fun.
This sensory bin isn't just about play; it's a fantastic educational tool as well. As kids sift through the sand and sort shells, they're developing fine motor skills and learning about the natural world.
And let's not forget the cognitive benefits. Encouraging questions like 'How is the beach different from our backyard?' or 'What animals live in the ocean?' sparks curiosity and conversation. It's a hands-on experience that combines learning with sensory delight, making education feel like a day at the beach!
Seasonal Sensations: Themed Sensory Bins Throughout the Year

Spring into Sensory Play: Blooms and Butterflies
As the world outside begins to burst with color and life, it's the perfect time to introduce our little ones to the joys of spring through sensory play. Educational toys are vital for children's growth, fostering sensory skills and cognitive development through interactive play and exploration with sensory bins. Imagine the delight on your child's face as they sift through a bin filled with vibrant flowers and fluttering butterflies, their little fingers grasping nature's wonders.
Here's a simple way to get started:
- Fill a bin with a base of green rice or shredded paper to mimic grass.
- Add artificial flowers of various textures and colors.
- Introduce butterfly figurines or laminated pictures for a touch of whimsy.
- Provide tools like tongs or scoops to encourage fine motor skills.
This sensory bin not only captures the essence of spring but also offers a multisensory experience that can enhance color recognition, sorting, and categorization skills. It's a playful and engaging way to bring the outdoors in, especially after a long winter.
Remember, the key to a successful sensory bin is variety and the freedom for kids to explore at their own pace. Let their curiosity lead the way!
Summer Sensory Fun: Ocean Adventures and Icy Explorations
As the mercury rises, I love to mix up our sensory play with themes that cool us down and spark the imagination. Ocean adventures in a sensory bin can be a splash hit! I fill a large container with blue-tinted water, add sand to one side, and scatter seashells and plastic sea creatures for a mini marine world. It's not just about fun; this activity is a treasure of educational opportunities. Kids explore different textures, practice fine motor skills with scooping and sifting, and learn about ocean life.
For a frosty twist, we switch to icy explorations. Freezing small toys in ice cubes and letting the kids melt them out is always a hit. It's a terrific way to learn about states of matter, cause and effect, and even patience as they wait for the ice to melt. Plus, it's a perfect activity for those sweltering days.
- Ocean Bin Essentials:
- Blue-tinted water
- Sand
- Seashells
- Plastic sea creatures
- Ice cubes with frozen treasures
Embracing seasonal activities like these not only keeps my kids engaged but also supports their learning and physical activity. It's a win-win for those long summer days!
Autumn Awe: Leaves, Acorns, and Harvest Hues
As the leaves turn and the air gets crisp, it's the perfect time to introduce our little ones to the rich tapestry of autumn through sensory play.
- Create a leafy landscape with different textures and colors
- Add acorns and pinecones for natural elements to sort and count
- Introduce harvest hues with colored rice or pasta
By engaging with these natural materials, kids not only get a hands-on educational experience but also develop a deeper appreciation for the beauty of the season.
Remember, the goal is to make learning fun and accessible. And what could be more fun than playing in a bin full of autumn's bounty? It's a fantastic way to explore engaging and educational toys for children, promoting interactive learning through sensory playsets and emotional development. So, grab a sweater, collect some colorful leaves, and dive into the fall spirit!
Winter Wonders: Snowflakes and Sparkles
As the winter chill sets in, it's the perfect time to bring the season's magic indoors with a sensory bin that sparkles and delights. I've found that creating a winter-themed sensory bin is not just fun but also a fantastic way to explore sensory development in children. You can transform an ordinary day into a winter wonderland adventure with simple items like cotton balls for snow and glitter for that icy sparkle.
One activity I love is making homemade snowflakes with an ice cube tray. It's a hit with the kids and teaches them about the beauty of symmetry and the uniqueness of each snowflake. Adding a bit of blue food coloring can turn it into a lesson on shades and color mixing. Here's a quick list to get you started:
- Ice cube tray or snowflake mold
- Water and blue food coloring
- Glitter and sequins for decoration
- Polar animal figurines for imaginative play
Remember, the goal is to create a sensory-friendly environment that encourages exploration and creativity. And when it's time to clean up, I've got a tip: lay out a large sheet or tray underneath your sensory bin to catch any stray sparkles. This makes clean-up a breeze and keeps those pesky glitter particles from becoming permanent residents of your home.
Embrace the season by bringing the outdoors in, and watch as your little ones marvel at the wonders of winter, all from the warmth of your living room.
Sensory Bin Storytelling: Fostering Imagination and Language Skills

Creating Characters and Scenarios
When I first introduced sensory bins to my little one, I discovered the power of storytelling to spark their imagination. Creating characters and scenarios in a sensory bin is like opening a book where the children are the authors, and the bin is their canvas. I start by choosing a theme—maybe it's a bustling cityscape or a tranquil forest scene. Then, we gather items from around the house that fit our story.
- A small toy car becomes a brave explorer venturing through uncharted lands.
- Colored blocks transform into buildings, setting the stage for urban tales.
- Leaves and twigs collected from the backyard serve as props for woodland adventures.
By assigning roles and crafting narratives, my child learns to express themselves and communicate ideas. It's a joy to watch their language skills blossom as they narrate the adventures of their sensory bin characters.
The beauty of this approach is that it's not just about play; it's a dynamic learning experience. They're also developing fine motor skills and learning cause and effect as they manipulate the items. It's a win-win situation where education and entertainment go hand in hand.
Story Prompts to Kickstart Narratives
When it comes to sparking creativity in our little ones, nothing beats a good story prompt to get their imaginations running wild. I've found that using sensory bins as a storytelling landscape offers a unique opportunity for kids to dive into their narratives. By providing a starting point, a story prompt can lead to endless adventures, whether a quest to find a hidden treasure beneath layers of beans or a journey through a miniature forest of twigs and leaves.
Toys aren't just for play; they're tools for learning and development. Incorporating them into sensory bins can enhance the storytelling experience. For example, a small figurine might become the tale's hero, or a collection of colored stones could set the stage for a story about a magical land.
Here's a simple way to get started: Choose a theme for your sensory bin, like 'Under the Sea' or 'Enchanted Garden'. Then, ask your child to tell you a story about what's happening in this miniature world. Who lives there? What challenges do they face? How do they overcome them?
Remember, letting your child's imagination take the lead is the goal. There's no right or wrong way to tell these stories. It's all about exploration, learning, and, most importantly, fun!
Incorporating Books and Tales into Sensory Play
I've found that weaving stories into sensory bin activities is like hitting the jackpot for my little one's imagination and language skills. By pairing a beloved book with a themed sensory bin, we create an immersive experience that brings the story to life. For example, if we're reading about the deep blue sea, our sensory bin becomes an ocean with blue water beads and toy sea creatures.
Engagement skyrockets as they connect the tactile sensations with the visual imagery from the book. It's a powerful way to reinforce vocabulary and comprehension. Here's a simple way to get started:
- Choose a favorite children's book.
- Select sensory bin fillers that match the book's theme.
- Encourage your child to act out parts of the story using the items in the bin.
Remember, the goal is to make reading a multi-sensory adventure that captivates and educates. There's no right or wrong way to do it, as long as you're having fun and learning together.
Sensory Science: Experiments and Discoveries with Sensory Bins

Sink or Float: A Watery Investigation
I've always been fascinated by how some things sink while others float, and it turns out, kids are too! The 'sink or float' experiment is a classic that never fails to amaze. It's a hands-on way to teach little ones about density and buoyancy, and all you need is water and a few household items. Here's how I set it up:
- Fill a clear container with water (I prefer using something shallow so the kids can easily reach in).
- Gather various objects of different weights and materials.
- Let the kids predict whether each item will sink or float before they test it out.
This simple activity not only sparks curiosity but also encourages scientific thinking and hypothesis testing.
Remember to keep a towel handy for any splashes and always supervise the kids to ensure their safety. It's a splash of learning and a ton of fun rolled into one!
Magnetic Attraction: Exploring with Metals and Magnets
I've always been fascinated by the way magnets can captivate the curiosity of both kids and adults. Incorporating magnets and various metallic objects in sensory bins can be a game-changer for educational exploration. It's not just about sticking things together; it's about discovering the invisible forces at play.
Creating a magnetic sensory bin is simple. Start with a base of dry beans or rice to hide small metal items like paper clips, coins, and washers. Then, provide a strong magnet and watch as your little one explores the pull of magnetism. They'll be learning about science without even realizing it!
Here's a quick list of items to include in your magnetic sensory bin:
- Strong magnets
- Paper clips
- Metal washers
- Coins
- Small metal toys
- Magnetic letters
Remember, the key is to use a variety of shapes and sizes to encourage problem-solving and critical thinking. As they fish for metal treasures, they're not just playing—they're building a foundation for understanding physics and enhancing their cognitive skills.
Safety is paramount, so ensure all the items are too large to be a choking hazard and that the magnets are strong enough not to be a swallowing risk. With these precautions, your child can safely enjoy the wonders of magnetism and its captivating pull on their imagination and learning.
Fizz and Bubble: Simple Chemical Reactions for Kids
One of the most thrilling ways to spark a child's interest in science is through sensory bins that fizz and bubble. It's like having a mini laboratory right at home! For instance, creating a homemade lava lamp has never been more fun. Just fill a beaker halfway with baby oil, add colored water, and drop in an Alka-Seltzer tablet to create a mesmerizing reaction. Observation and prediction skills come into play as your little one watches the colors dance and the bubbles rise.
Encourage love for learning through household science experiments.
Here's a simple list to get you started on this fizzy adventure:
- Baby oil and colored water for the base
- Alka-Seltzer tablets for the reaction
- A clear container to see the magic happen
Not only does this activity promote an understanding of basic chemistry concepts like density and reactions, but it also enhances sensory exploration with different smells if you choose to add bath salts. Plus, it's a fantastic way to use affordable science toys and resources to enhance hands-on learning experiences.
Sensory Bin Clean-Up: Tips and Tricks for Parents

Storage Solutions for Sensory Materials
As a parent, I've learned that organizing sensory bin materials is a game-changer. It's all about finding the right balance between accessibility and neatness. Stackable bins with clear labels have been my go-to. They're perfect for tucking away those colorful rice grains or squishy water beads when not in use.
- Clear plastic containers
- Ziplock bags for smaller items
- Over-the-door shoe organizers for quick access
Remember, the easier it is to set up and pack away, the more likely you and your kids will use the sensory bin regularly.
Another lifesaver has been dedicating a specific area in the house for sensory play. Whether it's a corner of the playroom or a spot in the closet, having a designated space keeps things from spreading throughout the house. Trust me, it's worth the initial effort to create a sensory-friendly zone that encourages exploration without the clutter.
Keeping Your Sensory Bins Sanitary
As a parent, I know that keeping things clean with kids around can feel like a Sisyphean task. However, regarding sensory bins, cleanliness is key for safe and healthy play. Regular cleaning of the bins and their contents is a must. It's not just about wiping down surfaces; you'll want to ensure that the sensory materials themselves are free of germs and grime.
To make this process easier, I've got a few tricks up my sleeve:
- After each use, give the bin a quick wipe with a disinfectant cloth.
- A bath in soapy water does wonders for washable items like plastic toys.
- Dry materials like rice or beans can be spread out on a baking sheet and popped into the oven on low heat to kill lurking bacteria.
Remember, involving your kids in the clean-up can be part of the fun and learning experience. It teaches responsibility and the importance of hygiene.
Lastly, don't forget to air dry everything thoroughly before storing. Moisture is the enemy of cleanliness and can lead to mold. With these simple steps, you can ensure that your sensory bins remain a haven for exploration and discovery.
Recycling and Reusing Sensory Fillers
One of the most rewarding parts of sensory play is teaching our little ones about sustainability. Recycling and reusing sensory fillers saves money and instills valuable lessons about environmental responsibility. Here's a quick rundown on how to keep the cycle going:
- Reuse dry fillers: Items like rice, beans, and pasta can be used multiple times. Just dry them out if they get wet and store them properly.
- Repurpose household items: Those cardboard rolls and plastic bottles can be excellent tools for scooping and pouring in a sensory bin.
-
Create a recycling bin: Use a section of your sensory bin to sort recyclable materials. It's a fun way to teach kids about sorting and the importance of recycling.
Remember, every time we choose to reuse, we're taking a small step towards a greener planet and showing our kids the value of resourcefulness.
Composting can also be part of your sensory play. Use banana peels or apple cores to show how organic waste breaks down over time. It's a hands-on science lesson that's as educational as eco-friendly. When it's time to refresh your bin, consider donating the old materials to a local school or art program. They'll get a second life, and you'll have positively impacted your community.
Ready-Made Sensory Adventures: Pre-Packaged Sensory Bins

Unboxing and Review: Popular Sensory Bin Kits
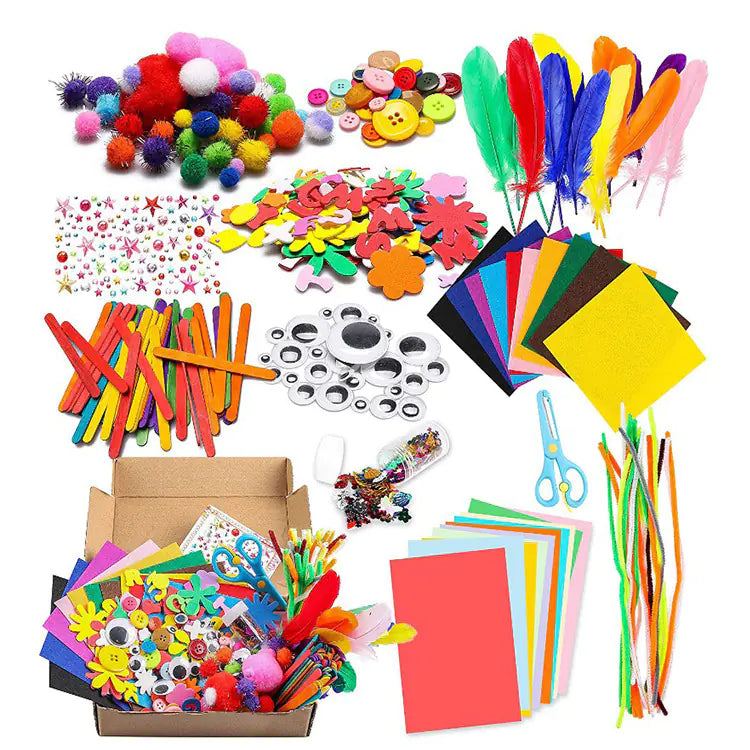
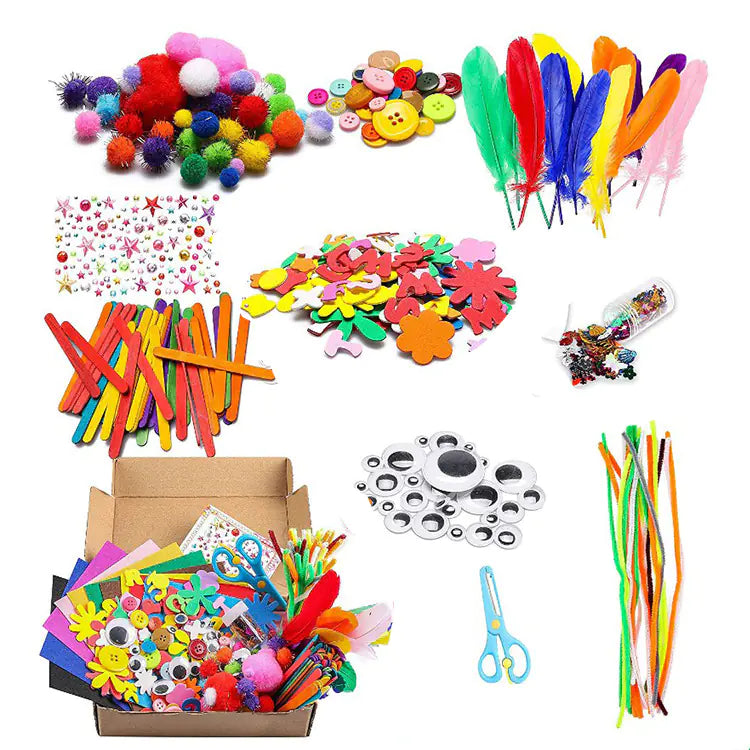
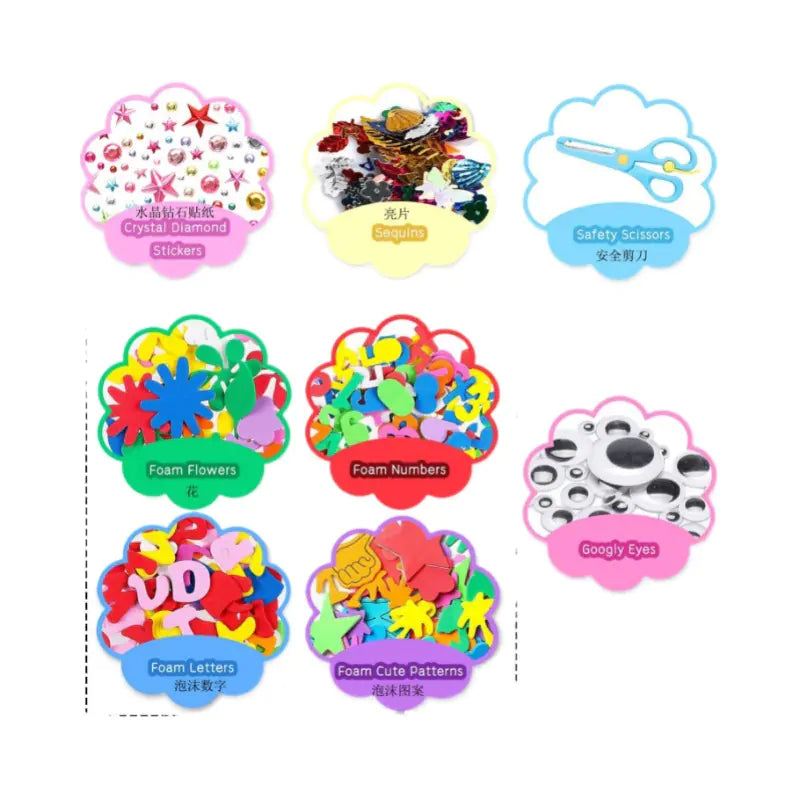
I've just got my hands on some of the most raved-about sensory bin kits, and let me tell you, they're a game-changer for busy parents like us. Unboxing these kits feels like a mini celebration; each is packed with various textures and materials designed to delight and educate our little ones.
Educational kits cater to various expertise levels, sparking curiosity in circuitry with electronic discovery sets. They encourage problem-solving, creativity, and independent learning for young innovators. It's not just about keeping the kids occupied – it's about giving them the tools to explore and grow.
Here's a quick rundown of what I found inside these treasure troves:
- A mix of dry and wet fillers, from silky sands to squishy water beads
- Themed objects and figurines that instantly capture the imagination
- Tools and utensils for digging, scooping, and fine motor skill development
The best part? Everything is ready to go right out of the box. No more scrambling for ideas or materials – these kits have it all.
And when it comes to clean-up, most kits come with handy storage solutions, making it a breeze to keep everything organized for the next sensory adventure. Trust me, your future self will thank you for these kits' ease and convenience.
Supplementing Pre-Made Bins with Household Items
I've found that pre-packaged sensory bins are a fantastic starting point, but sometimes, they need a little extra oomph. That's where household items come in handy! Adding everyday objects can refresh and extend the life of a pre-made bin, ensuring your little one stays engaged and curious. Here's a quick list of items you might have lying around that can spice up a sensory bin:
- Baby bibs to create a soft, tactile experience
- Measuring cups and spoons for scooping and pouring
- Plastic insects or bugs to encourage imaginative play
- Small gardening tools for digging and exploring
Remember, the goal is to maximize learning at home with educational toys that can be as simple as what you already own.
It's not just about saving money; it's about being resourceful and showing your kids that learning can happen with just about anything. Plus, incorporating items like baby bibs can stimulate cognitive development in early learners, making every moment a teaching opportunity.
When to Choose a Pre-Made Bin Over DIY
Sometimes, the convenience of a pre-packaged sensory bin just can't be beaten. When time is tight, or creativity is running low, grabbing a ready-made bin can be a lifesaver. These bins have everything you need, perfectly curated to provide an engaging sensory experience for your little one. Plus, they often include unique items you might not have at home or would be costly to buy individually.
It's not just about saving time, though. Pre-made bins can be a great choice when you're looking for a specific educational theme or activity that aligns with your child's current interests or developmental stage. They're also ideal for parents new to sensory play and want to see how it's done before diving into DIY.
Here's a quick list of when to opt for a pre-made bin:
- You're short on time.
- You need inspiration for sensory activities.
- You want to introduce a new concept or theme.
- You're testing the waters with sensory play.
Remember, the goal is to enrich your child's learning experience, whether you DIY or go pre-made. The best choice is the one that fits your family's needs and brings joy to your child's playtime.
Embark on a sensory journey with our Ready-Made Sensory Adventures! Our pre-packaged sensory bins stimulate your child's senses and ignite their imagination. Perfect for busy parents, these bins offer a hassle-free way to provide educational and fun activities for kids. Don't miss out on enhancing your child's development with these tactile treasures. Visit our website now to explore our collection and bring a world of sensory exploration to your home!
Wrapping Up Sensory Adventures
We bring our sensory bin journey to a close and remember that the true magic lies in the hands-on exploration and the joy of discovery. Whether it's the squish of kinetic sand, the clink of pebbles, or the vibrant hues of colored rice, sensory bins are a treasure trove of educational fun. They're not just about keeping little hands busy but about opening young minds to new textures, sounds, and possibilities. So dive into the sensory world with your kiddos, and watch as they unearth wonders with every scoop and sift. Happy exploring!
